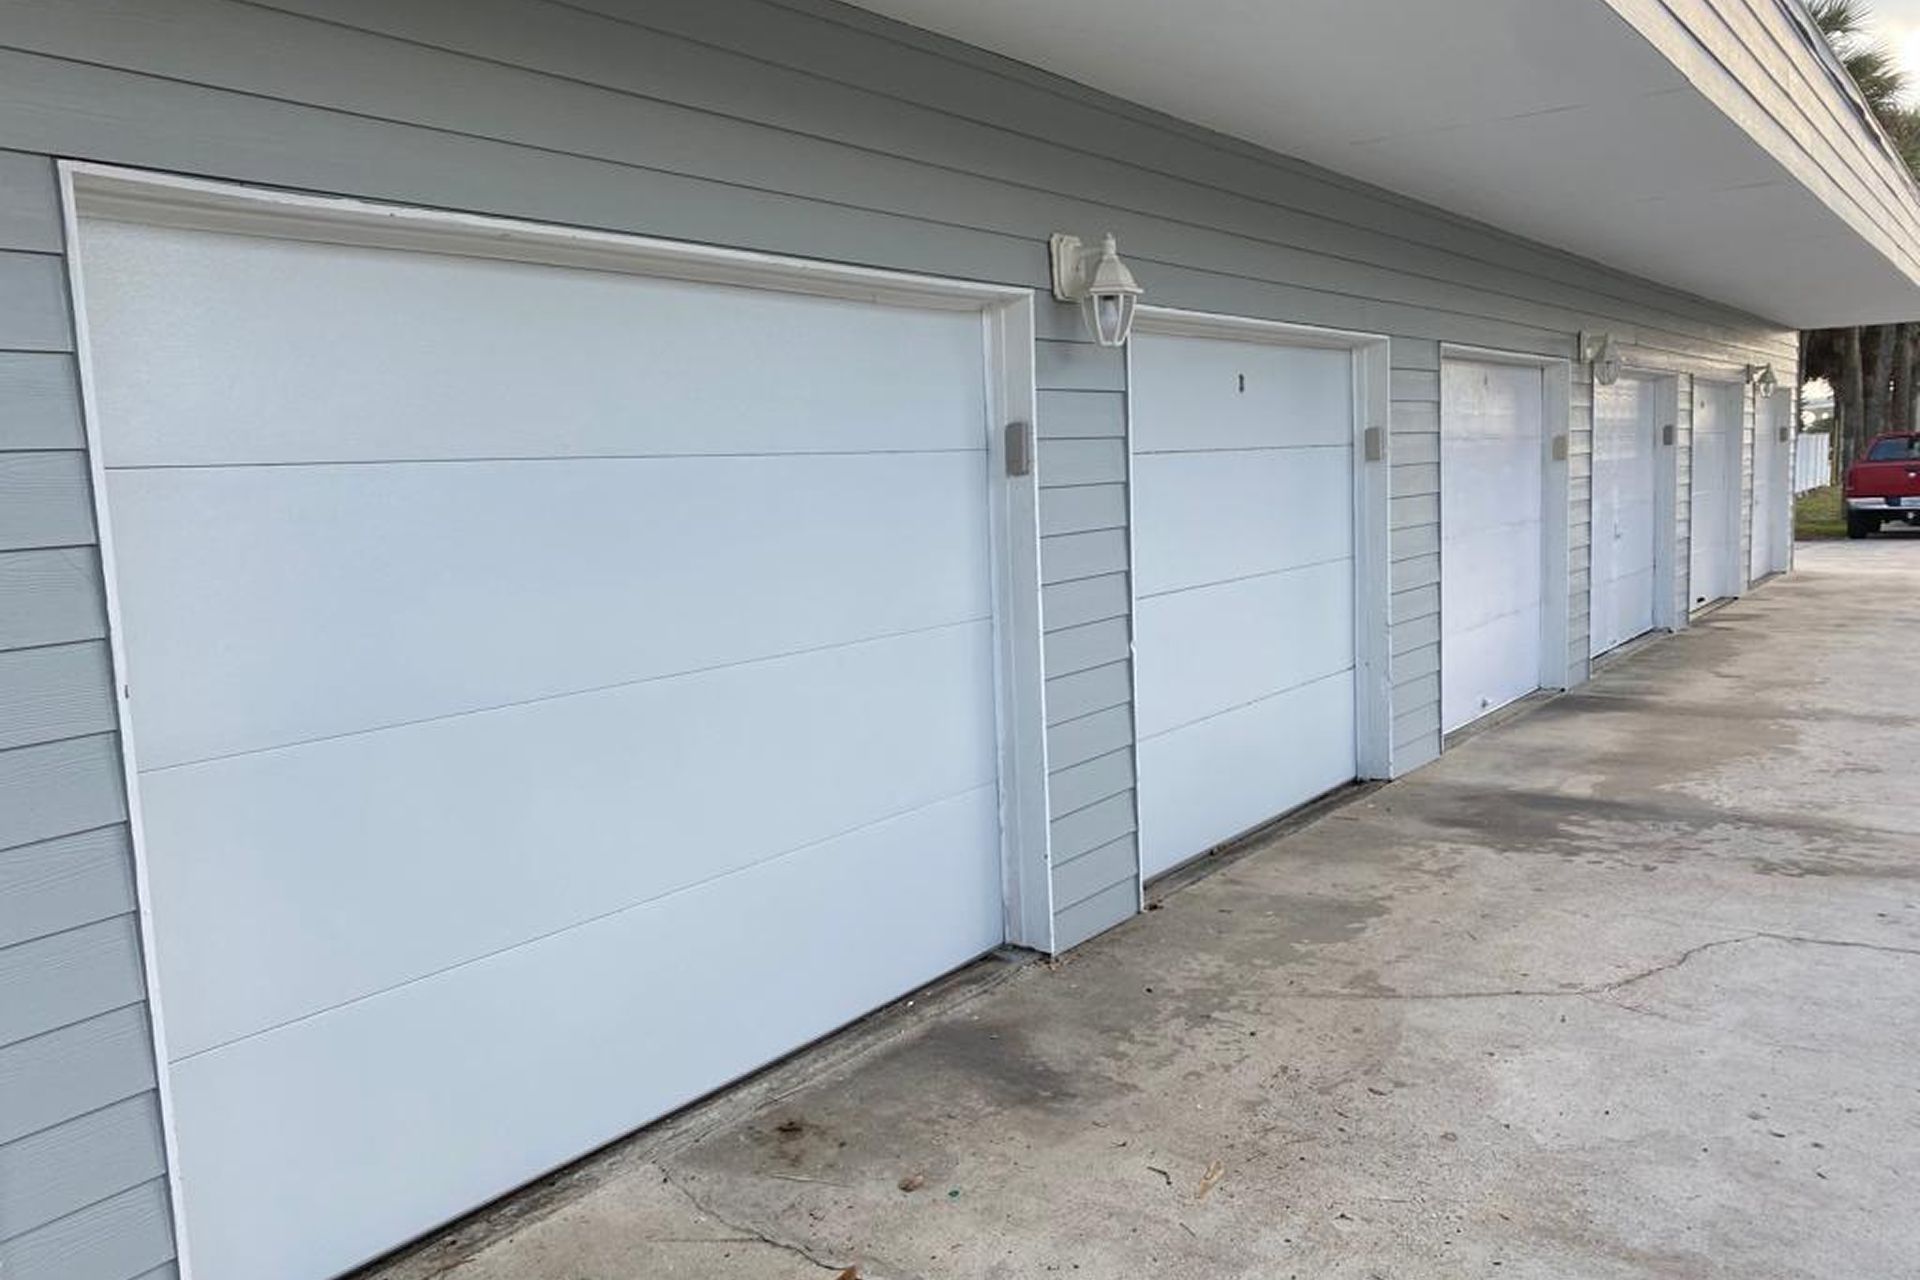
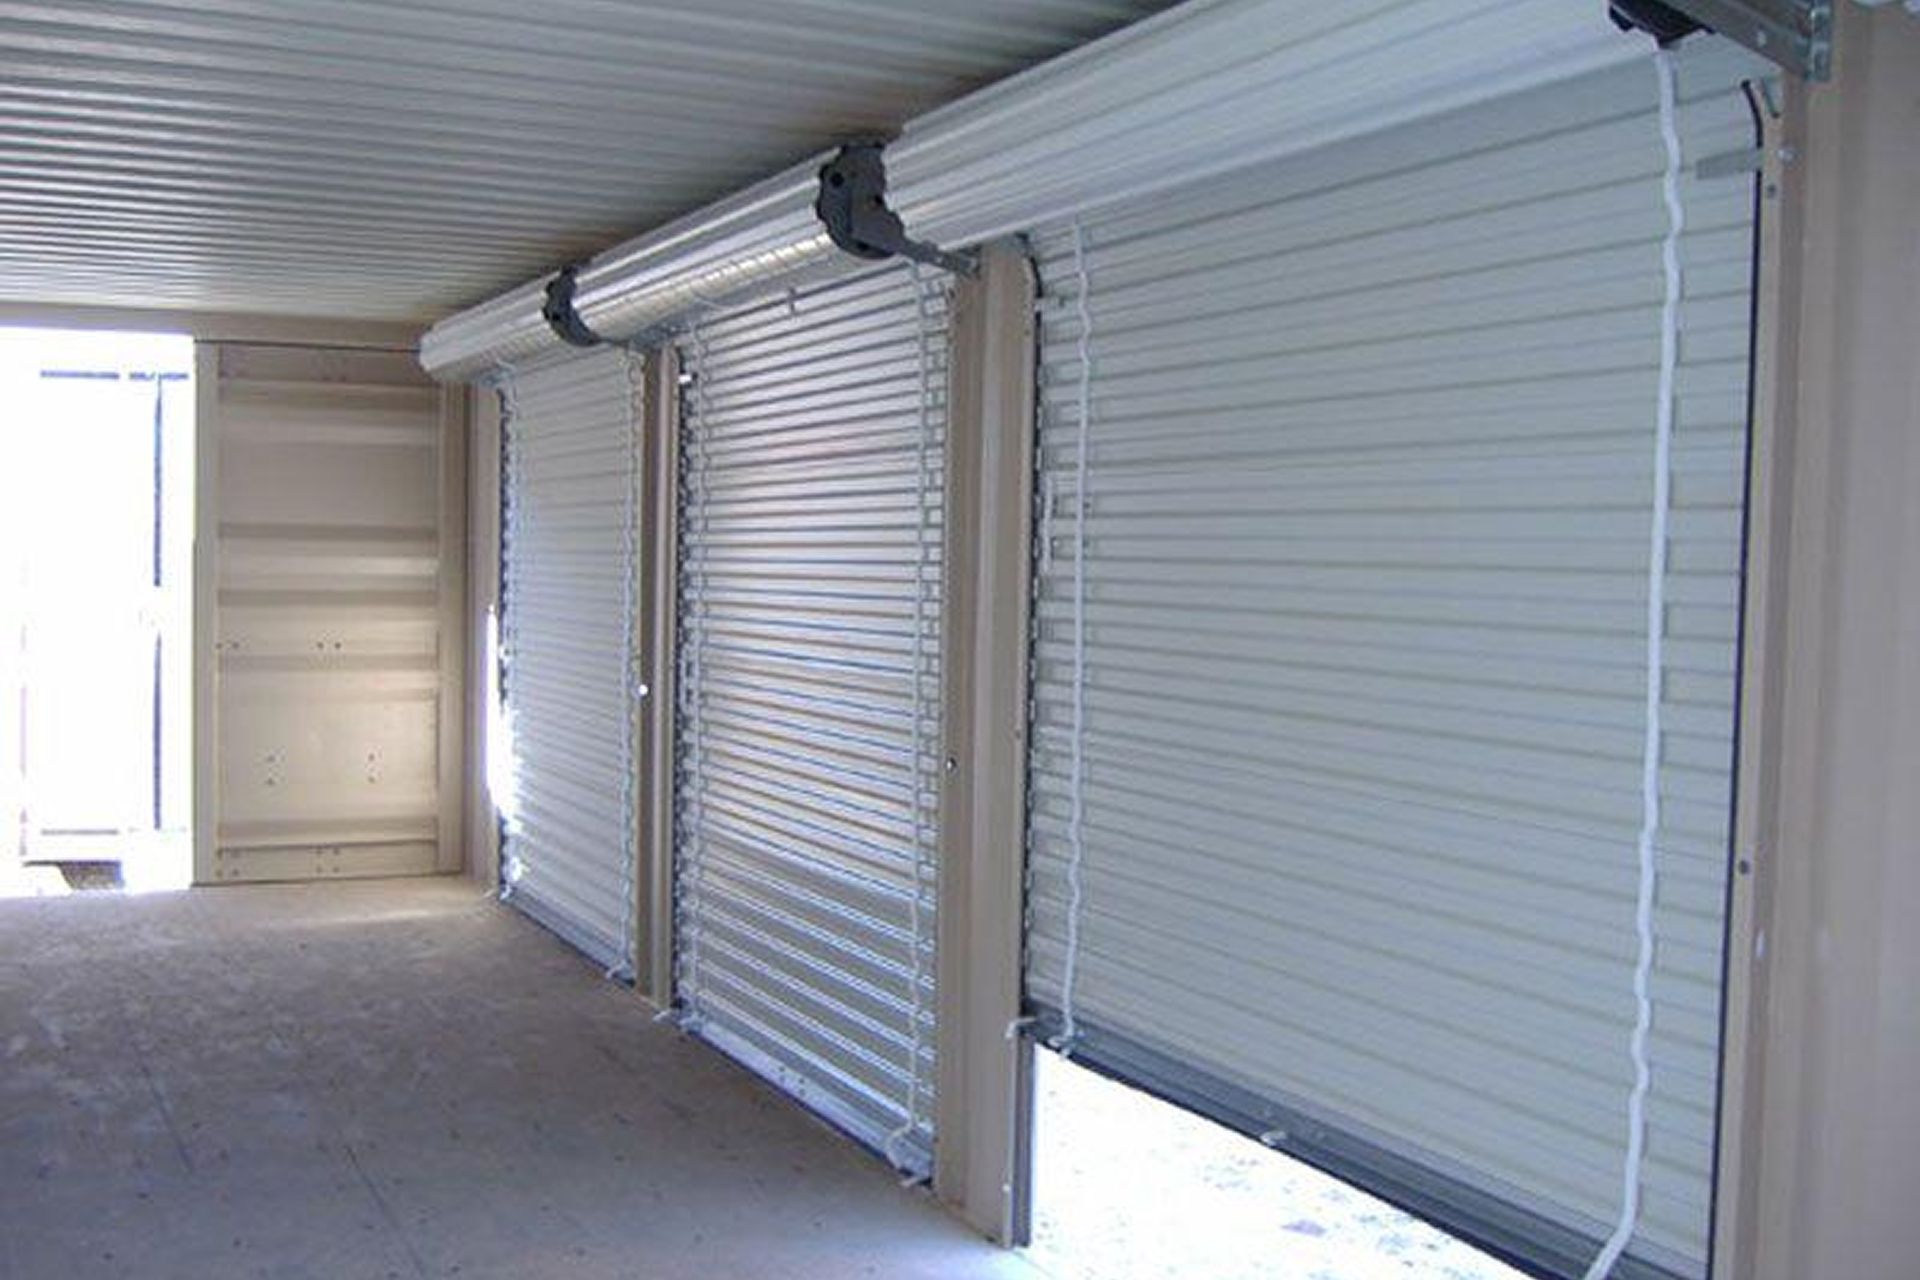
Garage Door Cable Replacement in St Augustine: A Comprehensive Guide
Are you experiencing issues with your garage door? Does it open crookedly or not at all? If so, the problem may lie with your garage door cables. These cables play a crucial role in the smooth operation of your garage door, and it's important to maintain and replace them when necessary. In this comprehensive guide, we will walk you through the garage door cable replacement process, ensuring that your garage door is functioning perfectly.
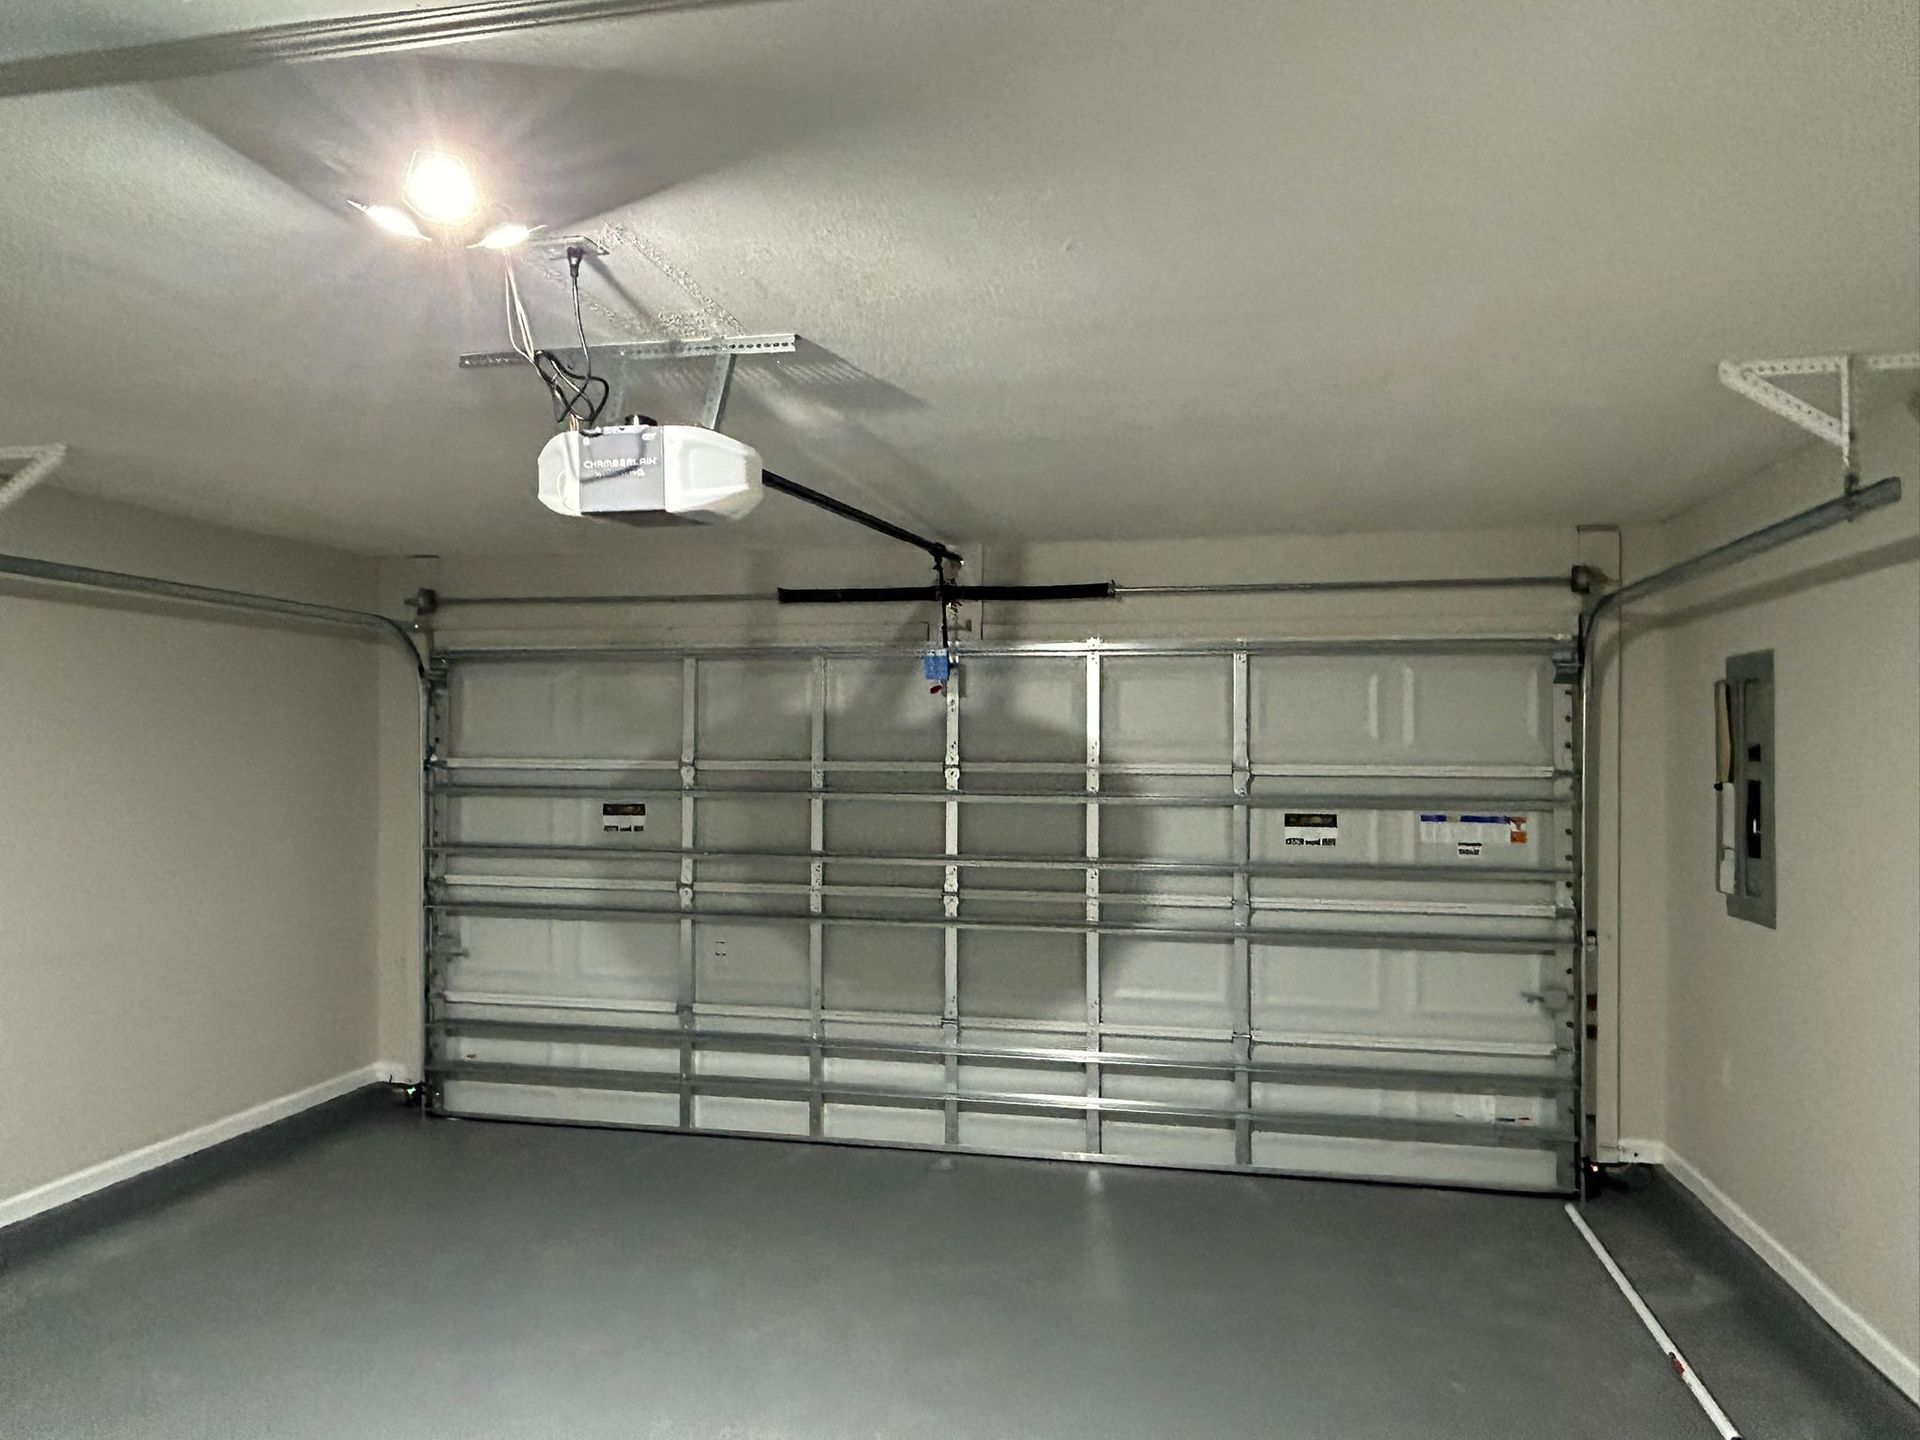
The body content of your post goes here. To edit this text, click on it and delete this default text and start typing your own or paste your own from a different source.
Understanding Garage Door Cables
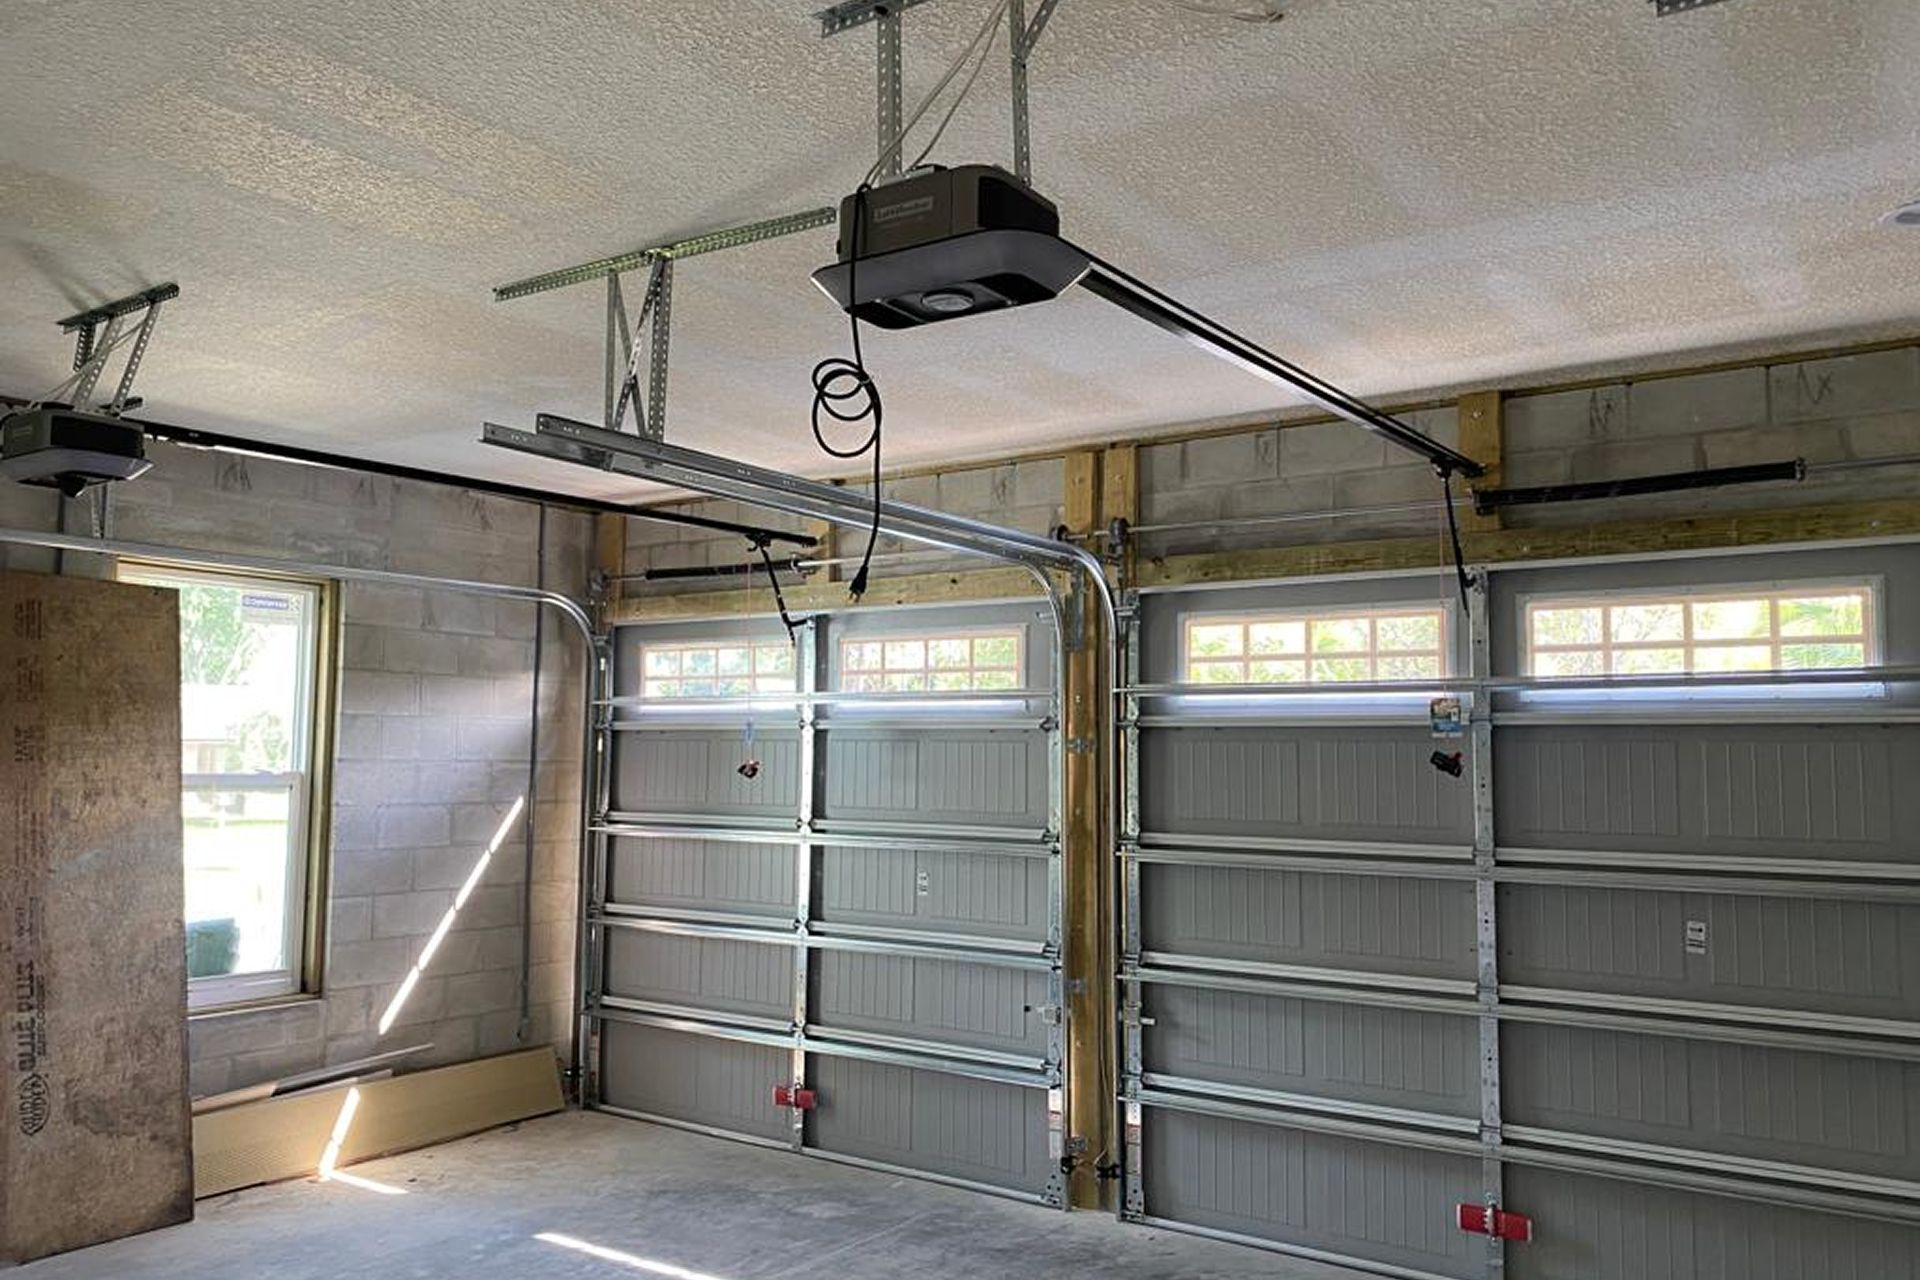
Before we delve into replacing your garage door cables, it's essential to understand their function. Garage door cables work with springs to lift and lower the door. There are two types of cables, depending on the spring system:
1. Torsion Springs
Torsion springs store energy by coiling. When the spring transfers energy to a drum, the cables unwind, allowing the garage door to lower. When the door needs to be lifted, the cables recoil.
2. Extension Springs
Extension springs store energy by extending. These springs run parallel to the garage floor and extend when the door closes. The cables attached to the springs lift or lower the door.
Signs That Your Garage Door Cables Need Replacement
Regular maintenance and inspection of your garage door cables are crucial for longevity. Here are some signs that indicate it's time to replace your cables:
1. Snapped Cable
If you notice a snapped cable, it indicates that a replacement is necessary. A broken cable can lead to a malfunctioning garage door and potential safety hazards.
2. Unbalanced Tension
If you observe unbalanced tension between the cables on each side of the garage door, it's a sign that one of the cables may be damaged or worn out.
3. Unwound Cables
Cables that have become unwound are not providing the necessary support for your garage door. This can lead to issues with the door's operation and potential damage to other components.
4. Fraying Cables
Frayed cables are a common issue with garage doors. Over time, the cables can become worn and frayed, compromising their strength and effectiveness.
5. Damaged Pulleys
For extension spring systems, it's essential to check the pulleys for any signs of wear and tear. Damaged pulleys can affect the smooth operation of the cables and the overall functionality of the garage door.
Tools Needed for Garage Door Cable Replacement
Before you begin replacing your garage door cables, gather the necessary tools. Here's a list of items you'll need:
1.
Vice Grip or Locking Pliers
These tools will be used to hold the garage door open during the cable replacement process.
2. Replacement Cables
Ensure you have the correct size and type of cables for your specific garage door system.
3. Winding Bars
Winding bars are essential for releasing tension from the springs.
4. Wrenches
You'll need wrenches to loosen and tighten set screws on the cable drum.
5. Sockets
Sockets of various sizes will be necessary for removing lag screws and other fasteners.
6. Ratchet
A ratchet will help you remove and install lag screws and other hardware.
7. Step Ladder
A step ladder is essential for reaching the necessary components of your garage door system.
Remember to wear appropriate safety gear, including work boots, gloves, and safety glasses, to protect yourself during the replacement process.
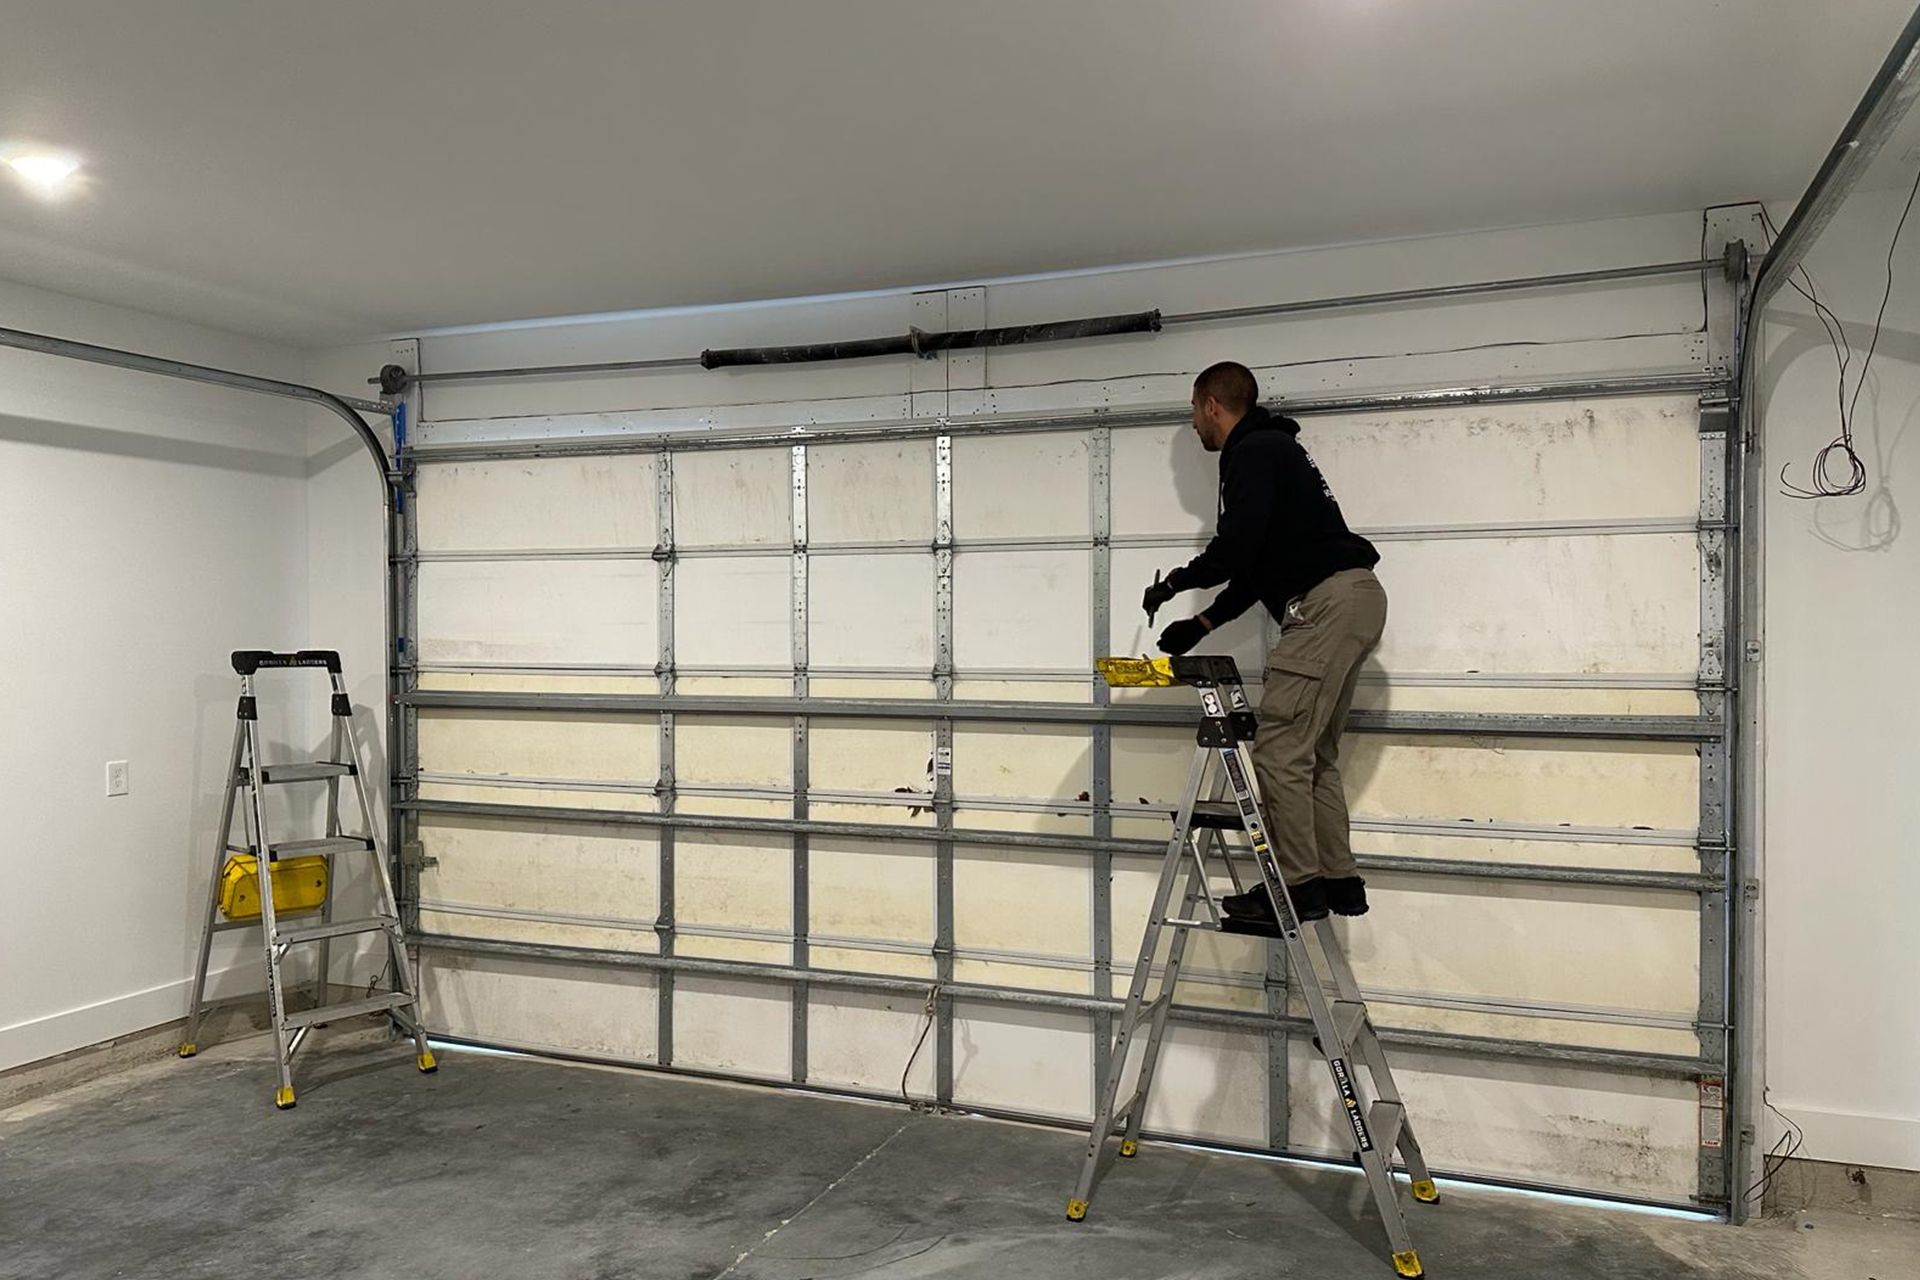
Steps to Replace Garage Door Cables
Now that you have gathered the necessary tools, it's time to replace your garage door cables. Follow these steps carefully to ensure a successful replacement
1. Safety Precautions
- Before beginning any repair work, unplug and disengage the garage door opener by pulling the emergency release handle. This will allow you to operate the door manually.
- Use a vice grip or locking pliers to hold the door open while you work on replacing the cables.
- Always prioritize safety by wearing appropriate gear and being cautious around the springs and cables.
2. Release Spring Tension
- Locate the center of the garage door and loosen the set screws on the springs using winding bars. Make 1/4 turns with the bars to release tension.
- Be sure to insert the winding bars fully and use both bars simultaneously to prevent injury. Avoid standing in the path of the bars.
3. Unwind the Springs
- Continue unwinding the springs until all tension has been released. Repeat this step for the second spring if your garage door has two springs.
4. Remove the Old Cables
- Use a wrench to loosen the set screws on the cable drum located at the top left of the door. Remove the old cable from the drum.
- Towards the bottom of the door, use a ratchet and socket to remove the bottom lag screw from the jamb bracket. Take off the bottom bracket and remove the cable.
5. Install the New Cables
- Attach the new cable to the bottom bracket and thread it up to the cable drum at the top of the door. Repeat this step for both sides of the door.
- Insert the cable into the slot of the cable drum, ensuring it is properly set and not overlapping. Wind the cable onto the drum and slide it over to the bearing plate. Turn the drum counterclockwise until the cable is tight, and then tighten the set screws.
6.
Increase Spring Tension
- While holding the cable, use vice grip pliers on the metal rod that goes across the door against the wall to hold it in place. Go to the right side of the door and follow the same steps to wind the cable onto the drum.
- Once the cables are in place, increase the tension on the springs using the winding bars. Make 1/4 turns at a time to avoid over-winding the springs.
7. Re-engage the Door
- Remove the locking pliers from the metal rod at the top of the door. Re-engage the door by pulling down the emergency release handle and lifting the door until you hear it double-click into place.
- Finally, plug the garage door opener back in and test the door operation.
Importance of Professional Assistance
While replacing garage door cables can be done as a DIY project, it's important to note that it can be difficult and potentially dangerous. Incorrect installation of cables can lead to further issues and safety hazards. If you are not confident in your abilities or need more experience in garage door repairs, it's best to seek professional assistance.
Door Master Clinic: Your Trusted Garage Door Experts
If you're looking for reliable garage door repair, installation, and service in St Augustine, Jacksonville, FL contact Door Master Clinic. With over 30 years of experience, their team of skilled technicians is dedicated to providing prompt and reliable service.
At Door Master Clinic, they specialize in top-quality garage door repair, ensuring that your garage door is operating efficiently and safely. They use only the highest-quality parts and equipment to guarantee the longevity of your garage door.
To
schedule an appointment or request an estimate, visit their website at
Door Master Clinic or fill out their contact form. Don't let garage door issues disrupt your daily routine. Trust Door Master Clinic for all your garage door needs.
Remember, regular maintenance and timely replacement of your garage door cables are essential for the smooth operation of your garage door. By following this comprehensive guide and seeking professional help when needed, you can ensure that your garage door functions perfectly and provides you with peace of mind.